So instead, I came up with a routine: I deal with my photos while flying home.
Subscribe to Matador Network’s
Free Insider Travel Substack
It’s the one block of time when I know no one will interrupt me. And unless I pay for Wi-Fi, there’s not much else to distract me. The trip is still fresh enough in my head that I can remember which beach was which, where I ate, or the Indigenous words for animals and places I want to remember.
Here are the five things I do on every flight home, from a semi-okay photographer.
1. Cull hard, first thing
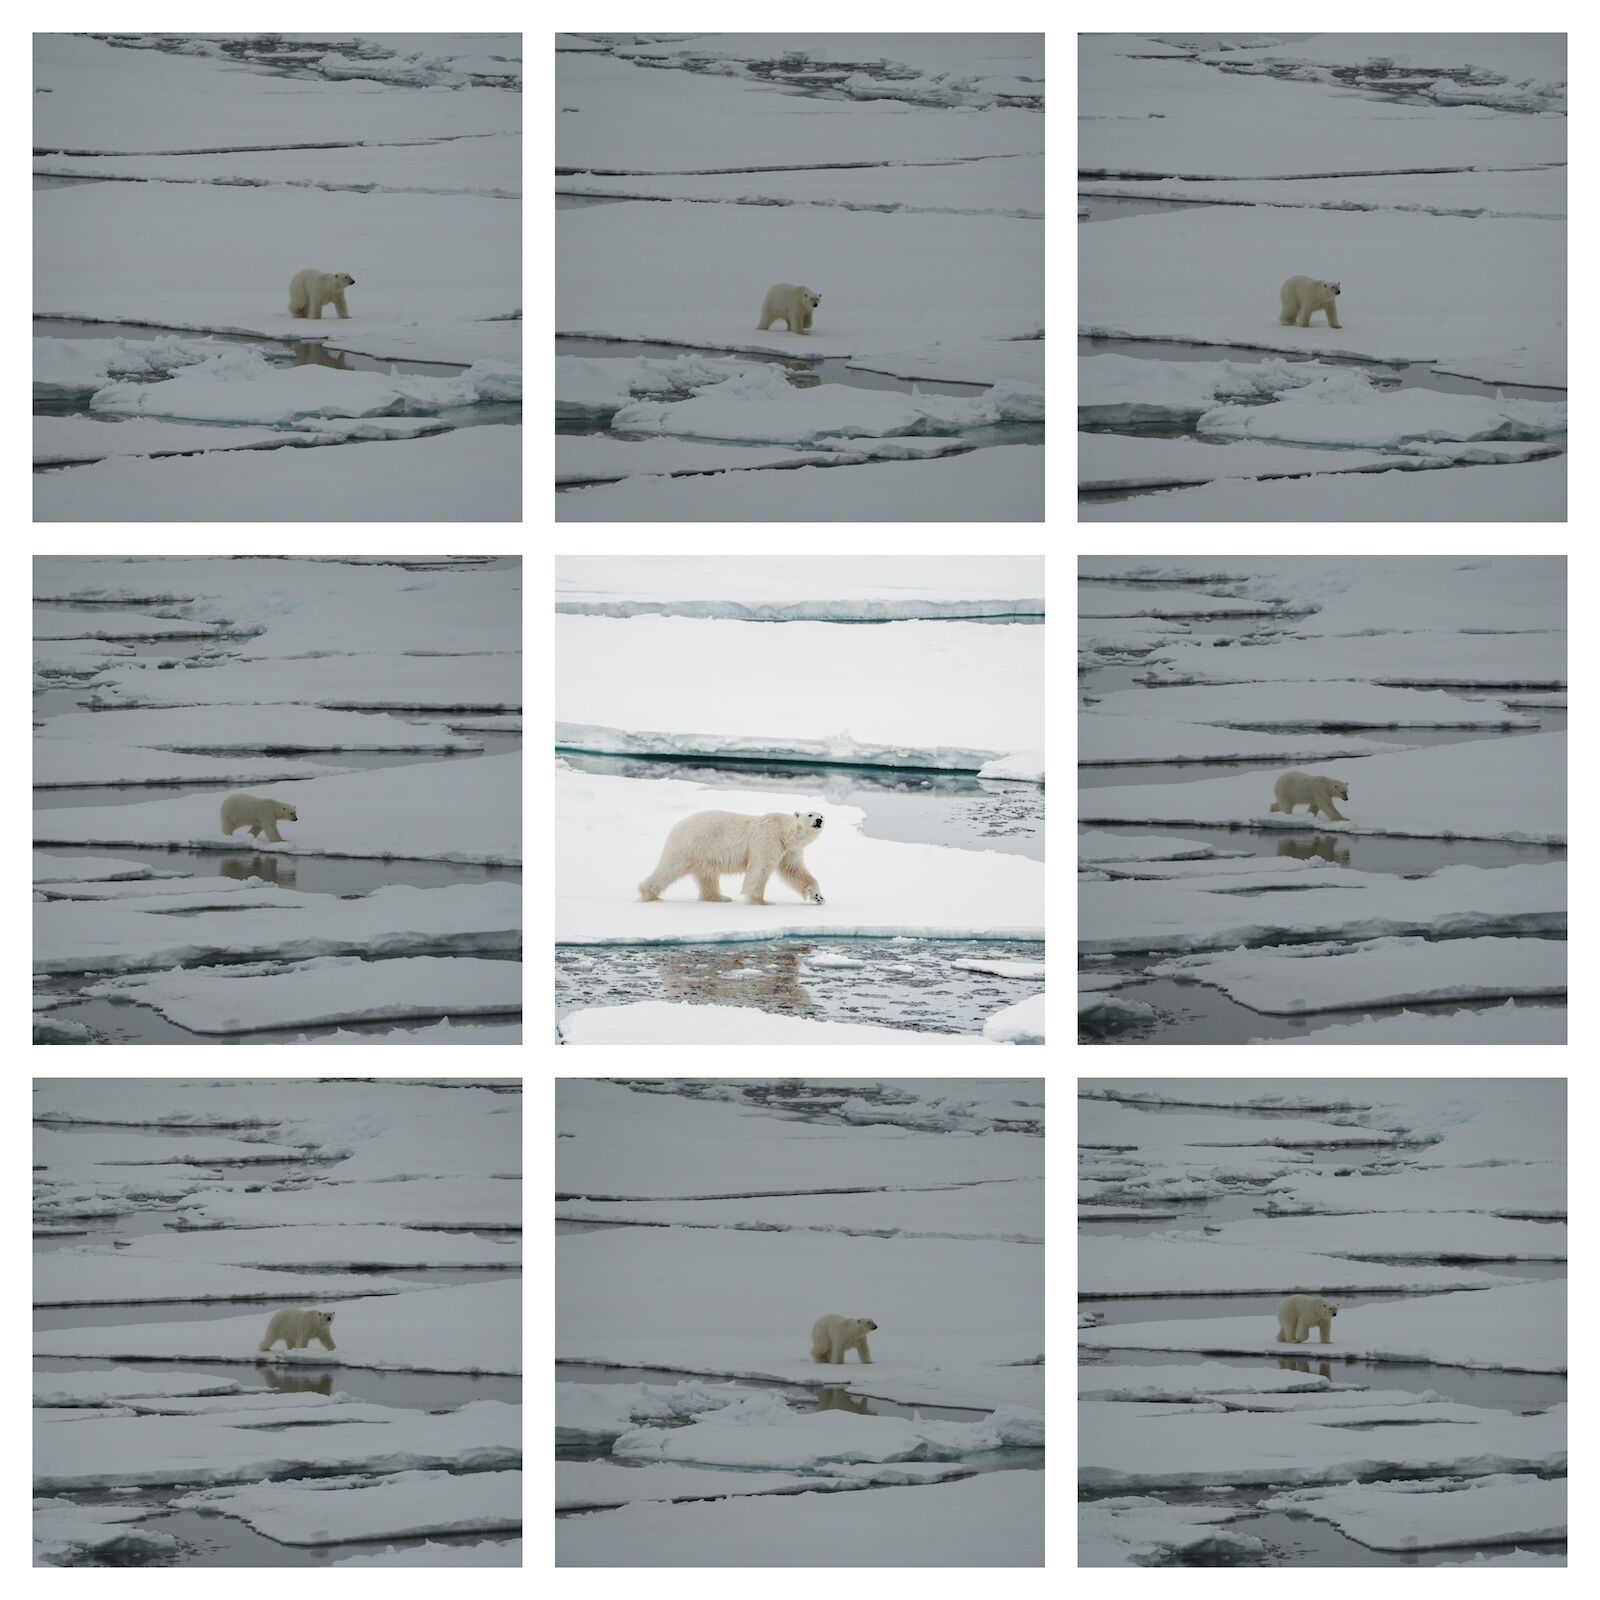
This is the part everyone skips, and it’s why most people’s camera rolls are full (mine included, until I started doing this). When you shoot as much as I do, more than half of it is junk in the form of blurry frames, blinks, 11 near-identical shots of the same sunset, and accidental pocket shots. So I start cutting. I pull the good one from each burst and delete the rest. I get rid of the photos where the subject has a weird shadow across it or there’s a car in front of the landmark. My first pass is usually generous, keeping anything that could be a “maybe.” But even still, this usually means deleting at least half of my photos rather than keeping bad photos on my phone and memory cards.
Photos: Suzie Dundas
2. Sort the survivors into albums
Before I forget where I went on which day, I usually try to get my photos into albums. I do it based on location, but it doesn’t really matter what metric you sort them by as long as it’s organized. This is where I combine all my photos from my phone and other cameras into one spot, so I don’t have three different sets of albums for three different cameras. I use a memory card attachment for my laptop so I can pull everything off my DSLR while flying. I usually name albums by place and date (”Oaxaca, March”) and star whichever shots I think are the best. This step, combined with the one above, is like 90 percent of the way toward having organized vacation photos.
3. Caption while you remember what’s what
Honestly, this may be the part that takes the longest, though some quick copy-and-pasting into file names can help. I do a very quick description of each photo as the file name. This is less because I’m going to search the file names later, and more because I usually store pics on the Google Photos cloud, and Google Photos can search based on file names. So I just type in “Cheese from Switzerland” and boom, all my shots of a nice Berner Alpkäse are right in front of me. It doesn’t have to be perfect, and sometimes my titles are something like “Elephants in Samburu 1.jpg,” “Elephants in Samburu 2.jpg,” etc. Putting locations and people’s names in the file names helps so much, even if it’s something I think at the time I could never forget.
Photos: Suzie Dundas
4. Back it up
In my head, I always think to myself, “Back it up, back it in, let me begin,” which are not the actual lyrics to “Jump Around.” But you don’t have to make up your own songs inspired by 1990s hip-hop to know you should back up your photos. I carry my portable hard drive in my carry-on and after I’m done sorting and labeling them all on my laptop, a little copy-and-paste action makes a copy on my hard drive. This can take a while, especially if you have large RAW files, so the perfect time to do it is when you’re sitting on a flight with a few hours to kill until the next meal service.
5. And if there’s time…
If there’s time left after that time suck, I usually pull out a few of my favorites and do a few quick edits I can share with people when I land. Plus, every once in a while, a flight attendant will walk by and say “Hey, nice photo.” It’s not enough to ever get me a free drink, but hey, it’s better than nothing. 
Subscribe to Matador Network’s
Free Insider Travel Substack